Running an Autonomous Routine
The code for the Simple Auto Example is now complete. However, we would now like to test and make sure our autonomous routine works as it should.
Deploy the code to the VMX
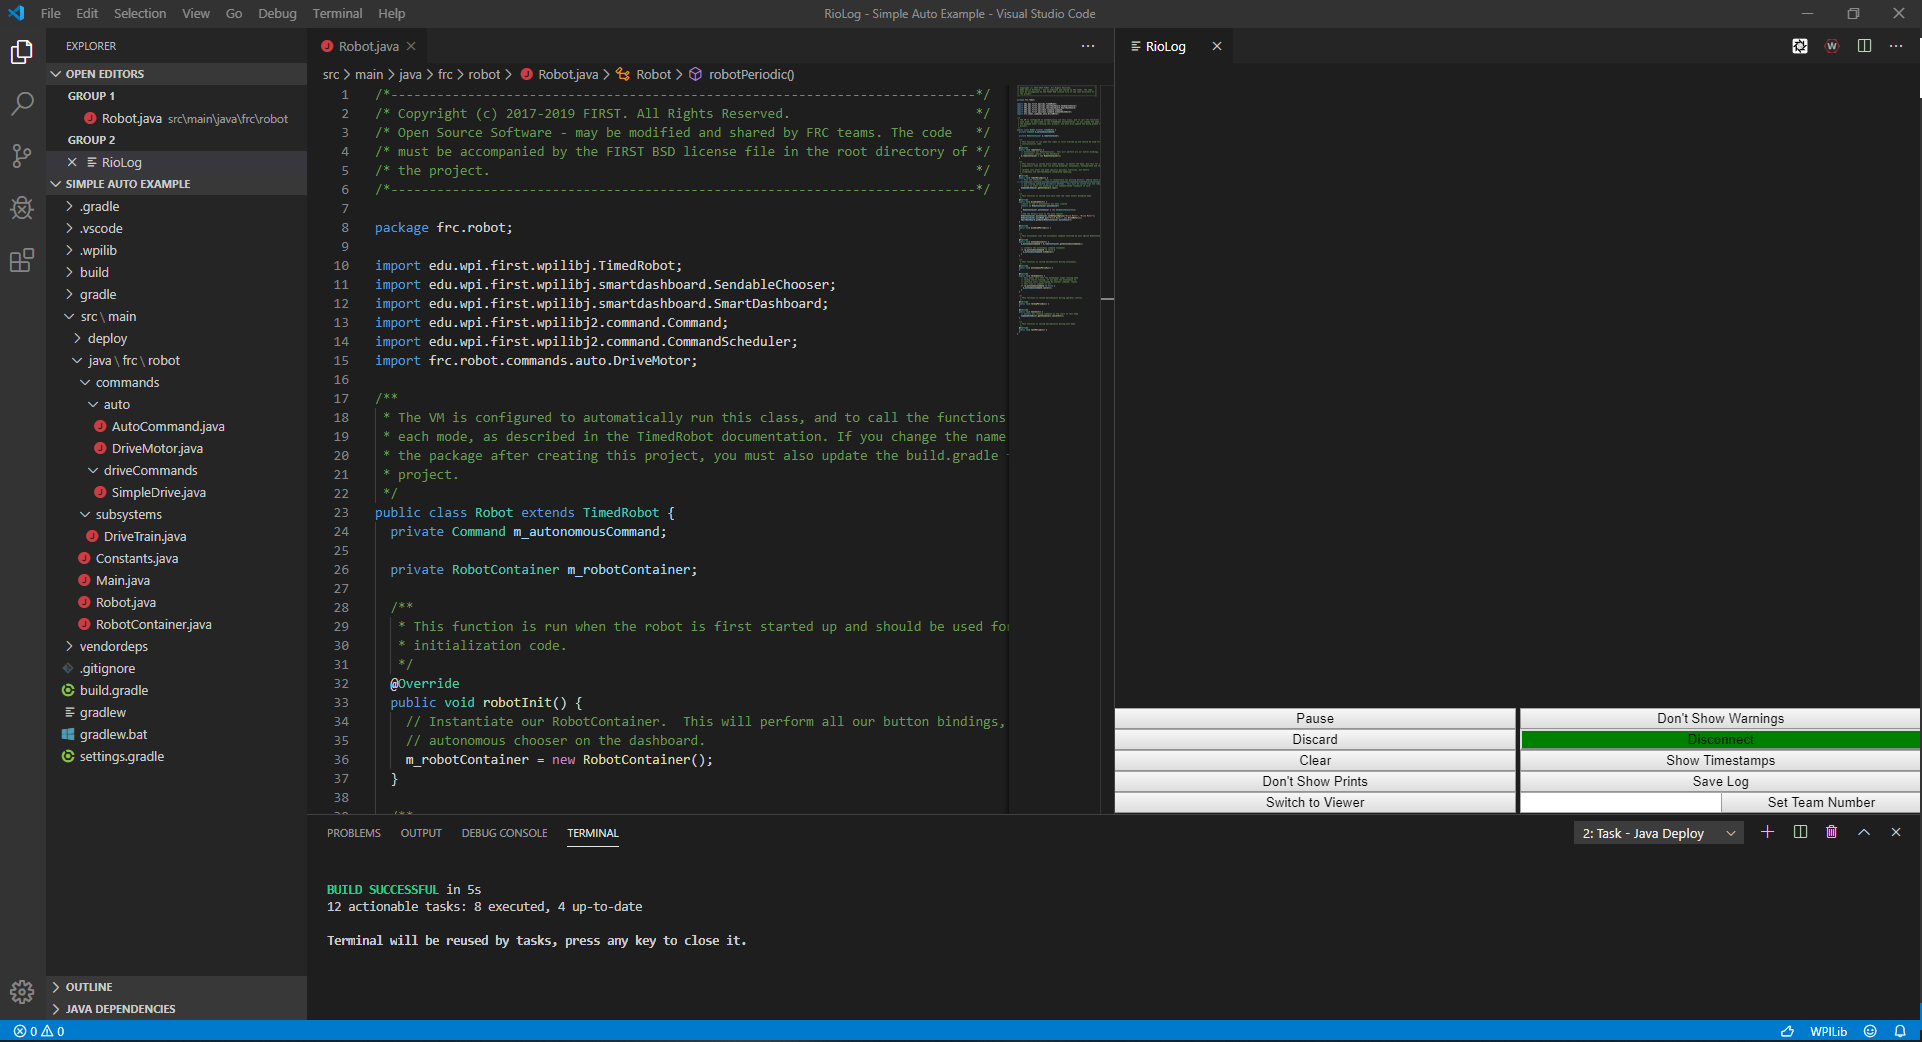
Connect to the VMX and deploy the code. To deploy code hit F1 and type in WPILib: Deploy Robot Code. This will then deploy the code to the VMX. A successful deploy will look like this.
Opening Control Center
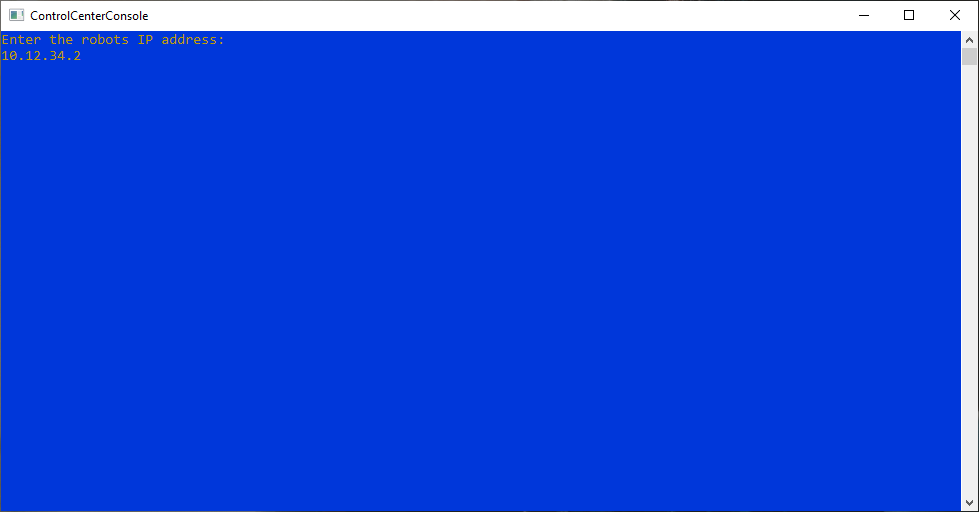
Open up Control Center. Enter your robots IP address. Out of box IP address is 10.12.34.2.
This will also open up shuffleboard automatically and connect it to the robot server.
Operating Control Center
Control Center and shuffleboard should now be open and viewable.

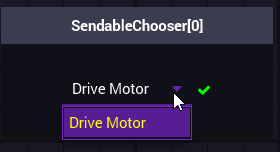
On the shuffleboard window only SendableChooser[0] will be visable. Chosen Auto Mode will become visable after the robot is enabled at least once.
Hit a on the keyboard to switch to Autonomous mode. The Control Center should show that it’s in Autonomous Disabled mode.

If you click on the drop down of SendableChooser[0] you can see that there is only one option. In future autonomous examples we will be adding more options and they will be selectable in this drop down.
Running the Autonomous Routine
While in autonmous mode hit e to enable the robot and start the autonomous routine. The motor should now spin at 50% for 5 seconds based on the timeout that we set earlier. After 5 seconds the motor will stop. Notice that the robot is still enabled even though the motor has stopped and there is no code running. Hit d to disabled the robot again. If you hit e again the motor will spin again for 5 seconds.
Going Further
Try modifing the
DriveMotorcommand to run the motor for a longer period of time.Try modifing the
SimpleDrivecommand to allow for a custom speed to be passed through from theDriveMotorcommand.Enabled the robot and while the motor is still spinnig hit the disabled key
dand see what happens.