Connecting to the VMX
For LabVIEW for VMX, there are two ways to connect to the VMX.
Ethernet with the IP ADDRESS
172.22.11.2WiFi with the IP ADDRESS
172.16.0.1
To set the correct IP ADDRESS right click on the Raspberry Pi 2 B (0.0.0.0) target and select Properties
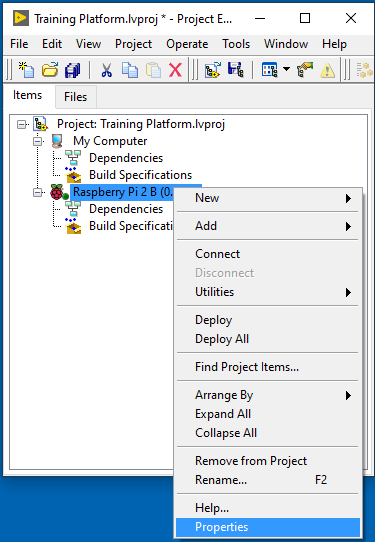
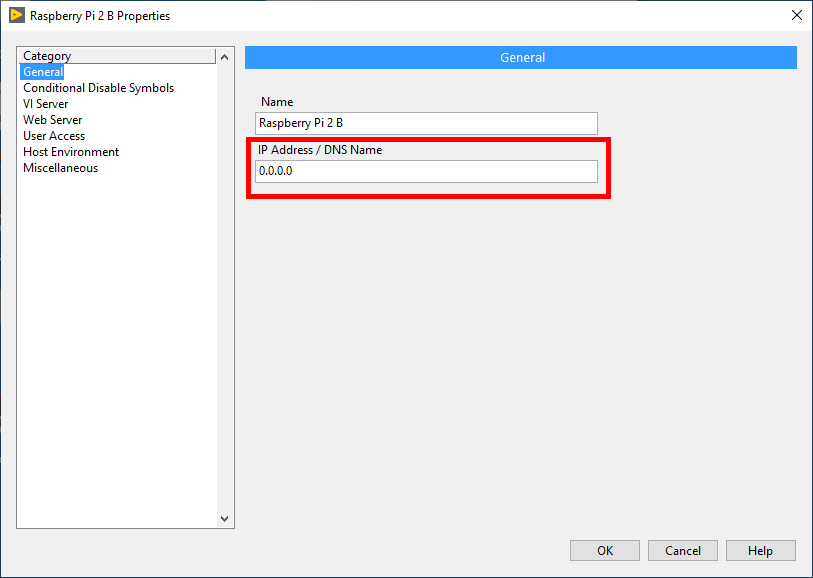
In the IP Address / DNS Name box, put either the Ethernet or WiFi IP Address and hit ok.
Note
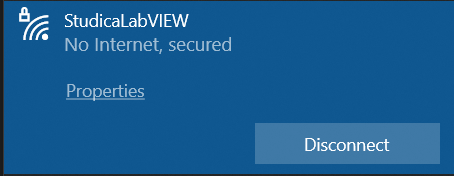
In this case, the WiFi address was used.
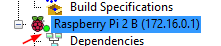
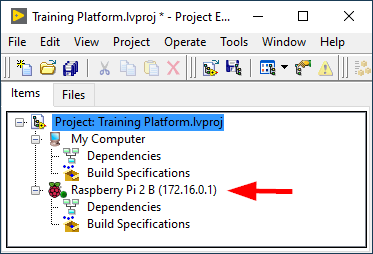
The IP Address should now be correctly shown in the Target Title.
To test the connection, connect to the VMX in the way specified in the IP Address chosen. In this case, WiFi was selected so we would connect to the VMX over WiFi.
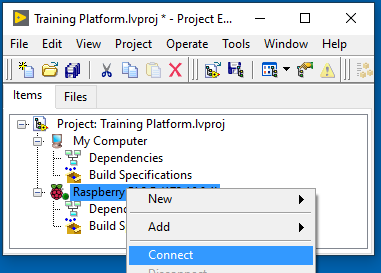
Right-click on the Raspberry Pi 2 B (172.16.0.1) target and select Connect
A window will pop up to display the connection information.
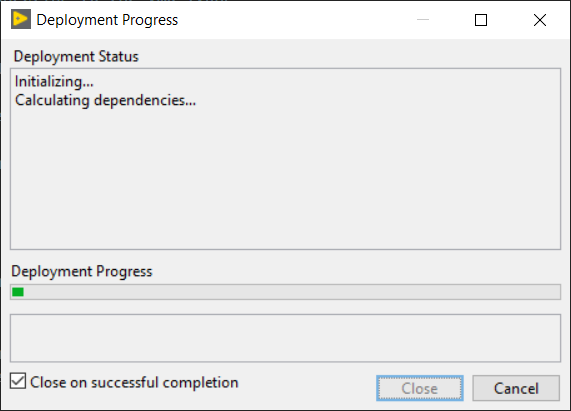
The connection should now be complete, and the little green indicator next to the Raspberry Pi logo should be illuminated. This signals a connection has been established with the VMX.